Hi there! I've scheduled this post to pop up early this morning as I will be busy sorting Evan out as he goes on a school residential this week, well for 3 days. I have promised him his favourite breakfast today which is porridge! I will miss our little guy like mad but I have to confess I am looking forward to 2 school run free days!!!
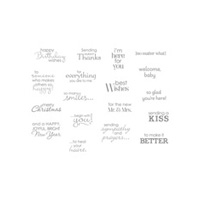
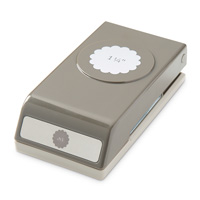
This is the class I delivered on Saturday afternoon. My technique class. The ladies got the stamp set included in the cost of the class and I shared a few techniques with them. Because all the ladies have their own stamps we can do harder makes as they don't have to spend time waiting for stamps. I always start with a warm up card and here it is! Very simple card and I showed the ladies how to make a card blank from the Scallop Square framelit die. We also explored colouring with a blender pen and the ink pads.
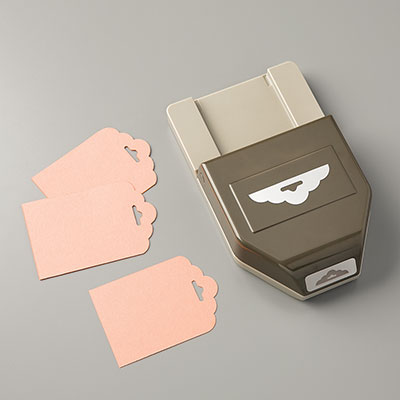
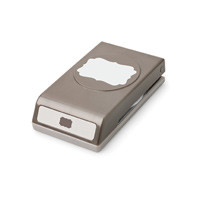
So here is the second card. We always do the hardest one in the middle. I know box cards are going crazy but I saw this cute one my wonderful downline Amanda shared using the Scallop Tag Topper punch on the flaps and I had to have a go. Amanda has done a great tutorial on this which you can find on her blog HERE and HERE. Thank you Amanda for the inspiration.
This one took a LOT of work as you can imagine and the ladies got their boxes constructed and things stamped but I think it was a case of assembling the rest at home as we were on a tight schedule!
Here is the back of the card!
And finally here is the "cool down" card. I don't often make tall cards so thought I would for this class. The background is not a new dotty stamp but it is created using the rubber on the end of a pencil! Remember me saying I had to go all the way to Utah to learn that trick!!! Yep!
I shared a little technique on how to have the stamp still attached but cutting the main image out with a framelit. Not sure that is the best description but maybe you get my meaning! A pencil and some fussy cutting is required for this!
Right then I am on my way to do my work today, got a really busy week ahead. It's the last week of Sale-A-Bration so please don't miss out on those gorgeous freebies or if you want to join my team then I would love to have a chat with you! See you later.
Table built by craftingbecky.com
|
|
|
|
|
|
|
|
|
|
|
|
|
|
|
|
|
|
|
|
|
|
|
|
|
|
|
|